Introduction: Streamlining Reservation Imports 🌟
Importing future reservations into Mews can be intimidating, especially for newcomers. Fear not, for we are here to guide you through the process step by step. This comprehensive guide offers clear and concise advice, making reservation imports a breeze, even for beginners. 🤓
Step 1: Starting with a Clean Slate
- Access your property's Settings.
- In the upper-right corner, click the user icon next to the question mark.
- Find and click "Download," then select "Download empty template.”
This empty reservation template is now ready for your data.
Step 2: Prioritize Essential Information
Pay attention to mandatory fields marked with asterisks:
- Enter at least the guest's last name.
- Include their email address whenever possible.
Did you know that hovering over column names reveals useful tips for data input?

For instance, the "Title" field is optional, but if you choose to fill it, stick to "Mister," "Miss," or "Misses." The "sex" field will be populated accordingly.
- For Nationality Code, use a 2-letter identifier, which you can easily find on websites like "List of country codes by alpha-2, alpha-3 code (ISO 3166)".
Step 3: Special Requests - Attention to Detail
- Include any special guest requests in the Internal Guest Notes column, keeping them concise and clear.
Step 4: Ensure Correct Date Formatting
Mews prefers dates in the format dd/mm/yyyy. To align your dates, follow these steps using Excel:
- Create a new column next to your date column.
- Use the formula: TEXT(S2,"dd/mm/yyyy").
- Copy the new column's values into the original date column (ensure it's in text format and not formula-based).
- Verify that your cells show "Text" format in Excel.
Note: Date formats may vary based on regional settings. Check here.
Step 5: Guest Count Management
- Specify the number of guests staying in the room. Remember, the guest count should not exceed the room's maximum occupancy.
- You can enter different age categories with the respective number of guests. Remember, Mews counts adults and children together.
Step 6: Basic Info - Setting the Scene
- Consider having a separate rate for imported reservations, especially if manually settling payments. After importing, revert to automatic settlement, retaining manual settlement only for imported reservations.
Step 7: Beds (For Hostels) - Keeping It Simple
For bed reservations:
- Each bed reservation should have its own line with a guest count of 1.
- For guests with multiple beds reserved, create separate lines for each bed with a guest count of 1.
Step 8: Rooms - One Room, One Line
When dealing with room reservations:
- Each room reservation should occupy one line.
- Ensure the guest count matches your data from the previous system.
- Avoid exceeding the room's capacity to prevent import errors.
Step 9: Pricing - Managing Costs
Effectively handle pricing:
- The "Total Price" column represents the entire stay's cost per room/bed.
- Use a dot (.) as the decimal separator in Excel.
- If you previously had multiple beds on one line in your export, split the price accordingly.
Step 10: Included Products - What's Included Matters
Understand how included products work:
- Included Products' prices will be subtracted from the Total Price upon import.
- Pay attention to product rules, as they can impact price behavior.
Step 11: Currency - Specify the Correct Code
Ensure precision with currency:
- Use 3-letter currency codes as configured in your property's settings. Find these codes on websites like "List of Currency Codes by Country (ISO 4217)".
Step 12: Confirmation Code - A Secret Note
- Usually, the confirmation code is carried over from your previous system. Note that you can't search by confirmation code; it's displayed in the reservation notes.
Step 13: Group Code - Simplifying Group Bookings
Demystify group codes:
- Use the same email address within your import file to group reservations.
- For group bookings, employ the Group code (one word, no spaces). It's handy for Group Bookings or GDS numbers and is searchable in Mews.
Step 14: Release Date - Optional Information
- Complete the release date field for optional bookings only.
Step 15: Channel Manager Integration - Connecting the Dots
For Channel Manager integration:
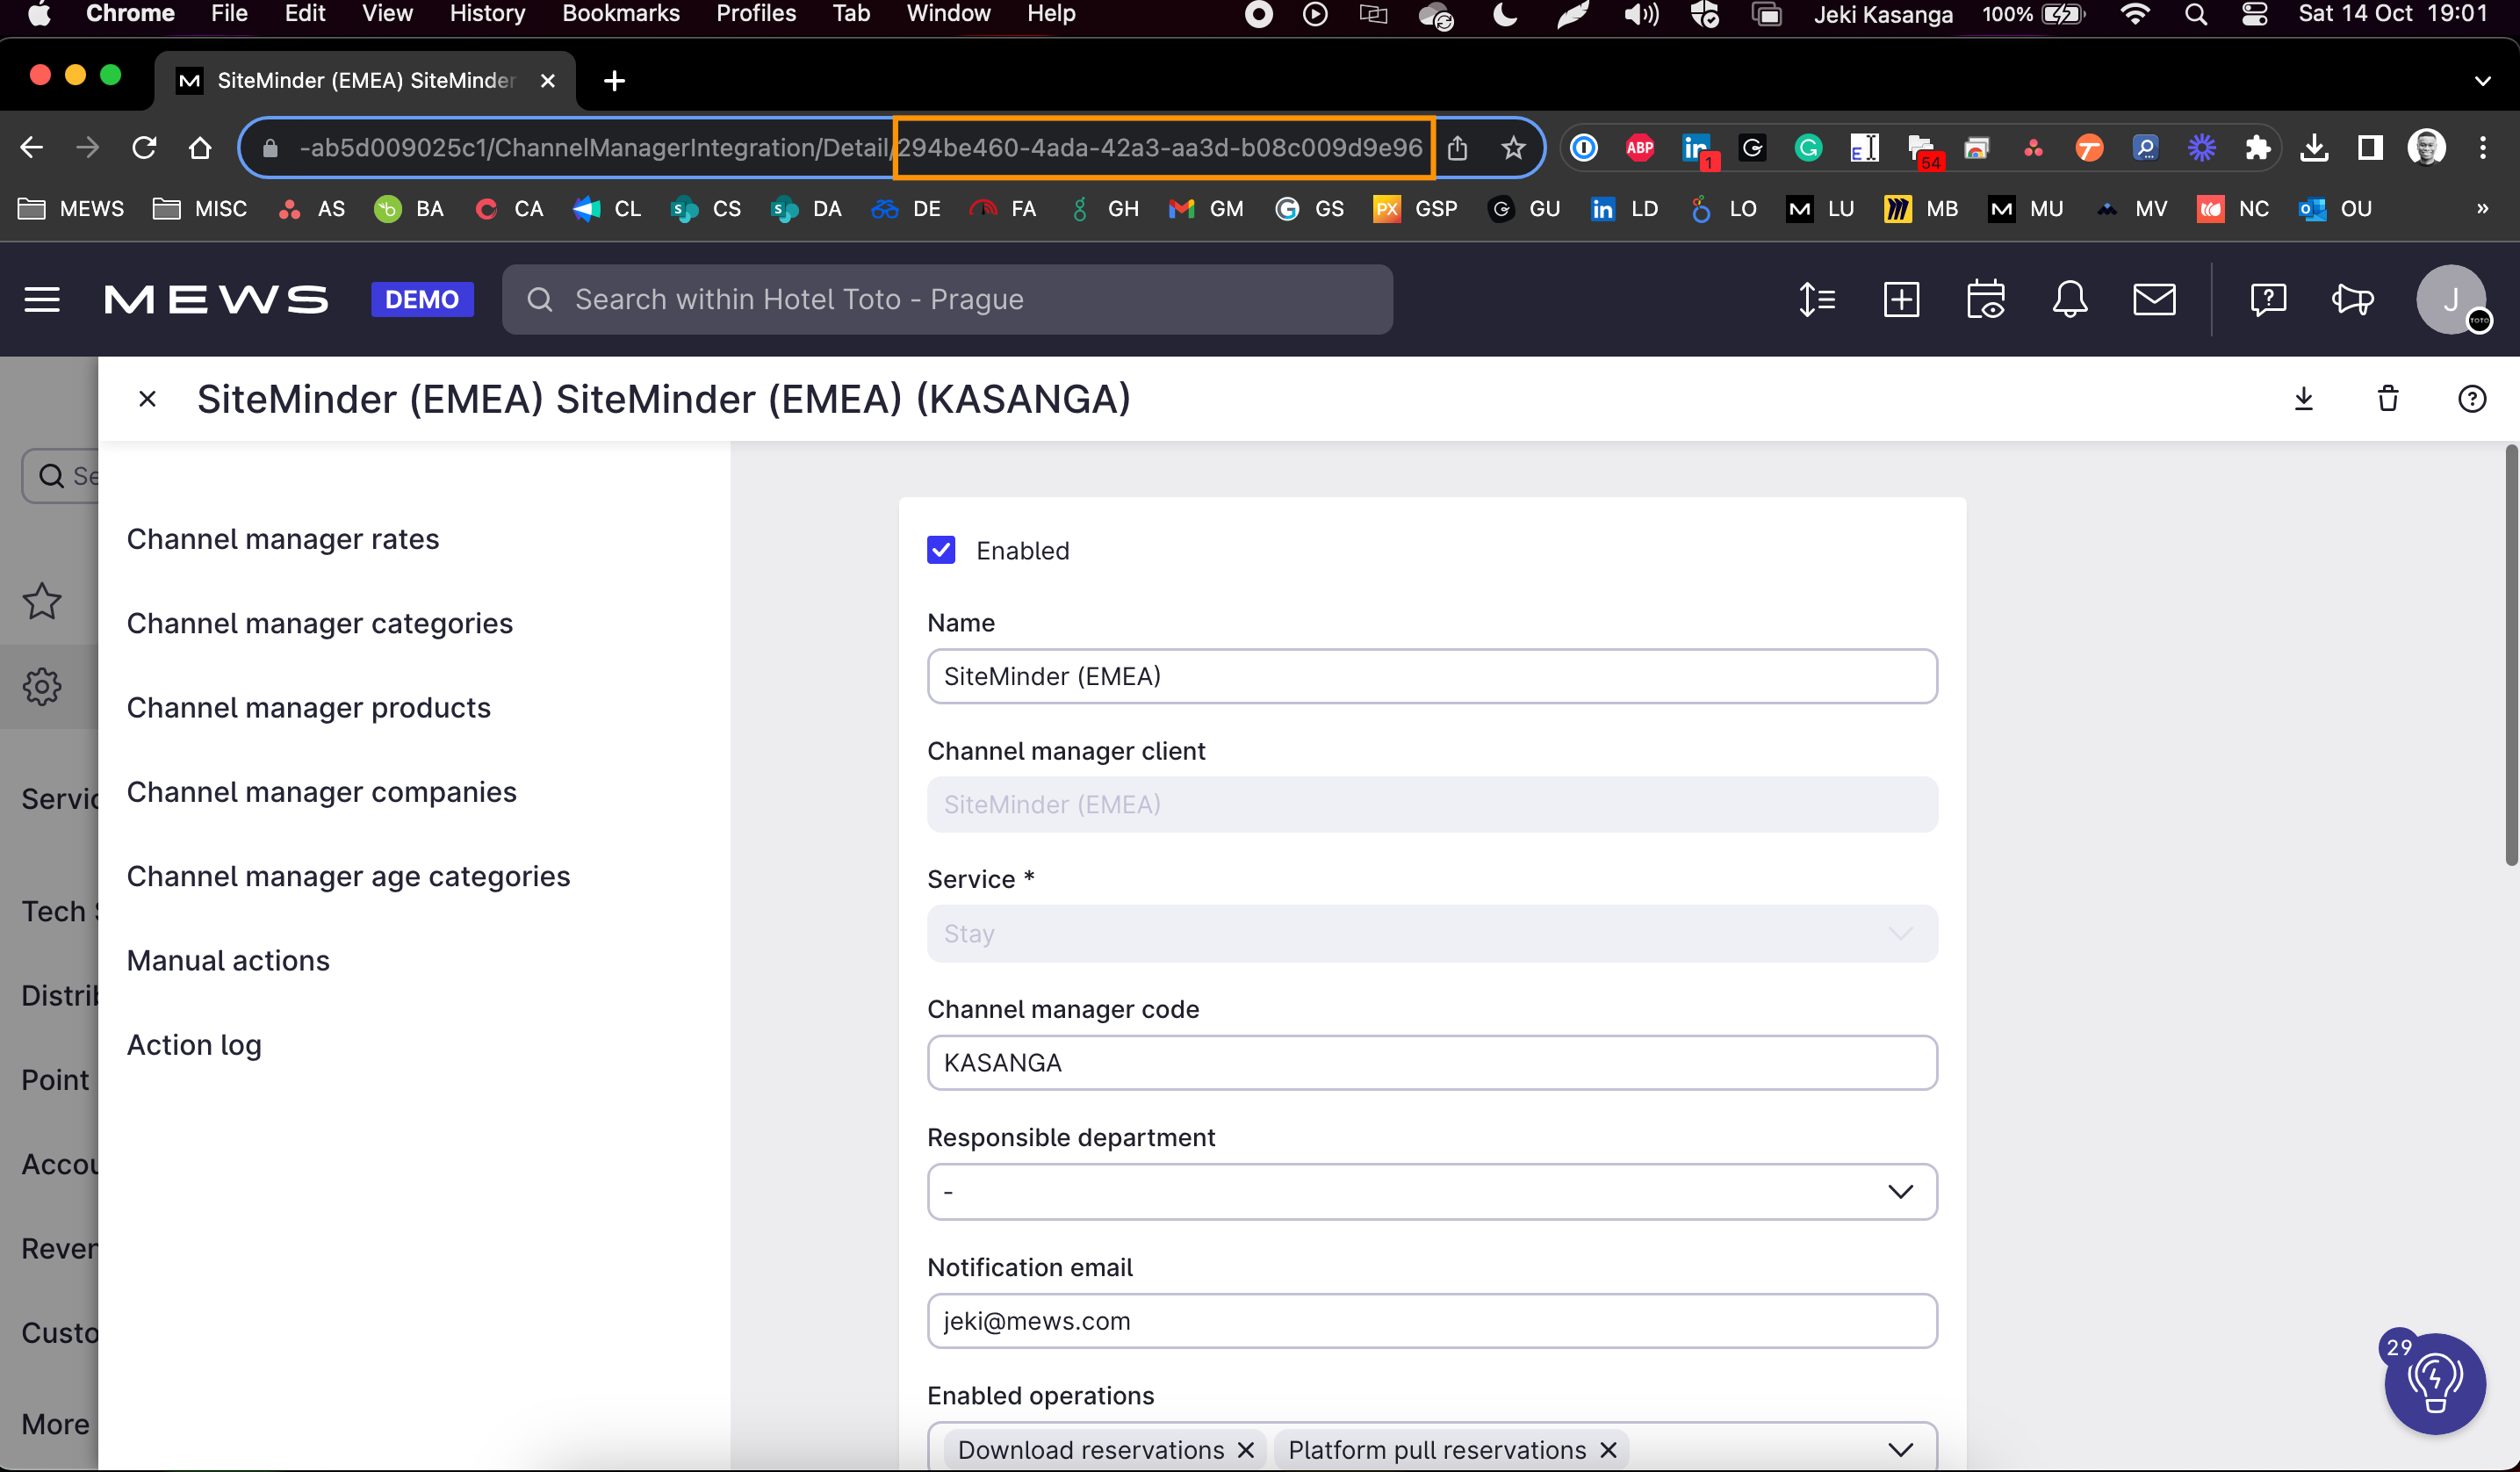
- Fill in Channel Manager Number, Channel Number, and Channel Manager Integration ID for a successful import. Ensure they are correctly linked.
Step 16: Double-Check Your Imports
Before the grand finale:
- Review your bookings for accuracy.
- If necessary, merge profiles or make room assignments manually.
Step 17: Importing Your Reservations - Finally!
Now that your reservation import file is ready:
- Go to your property's settings.
- In the upper-right corner, click the user icon and select "Upload."
- Choose your prepared import file.
- Click "Import Customers" to complete the process.
Step 18: Tips & Tricks - Expert Advice
Here are some tips from experienced users:
- Test in your demo environment with a small batch of reservations for verification.
- If you have over 1000 reservations, break them into batches of 500 for smoother importing.
- Consider using OTA or Channel Manager connections for an easier experience.
Step 19: Wrapping Up - Balancing the Books
After importing reservations, finalize the process:
- Handle prepayments using the deposit functionality if VAT has been declared. If not, post external payments, utilizing cross-settlement with specific accounting categories.
With this simplified guide, you can master reservation imports in Mews. Each step is thoughtfully outlined to ensure a smooth journey into the world of reservation management. Embrace the process, and may your experience with Mews be straightforward and successful. Happy importing! 🚀📅
If you want to read more, feel free to dive into our help documentation: 👈


